Installation of the robot controller firmware
This installation guide explains how to install the robot controller firmware, which is also used by the I/O module.
First, download the firmware from the download page: https://mikobots.com/mikobots-studio/downloads/.
Save the ZIP file to your preferred location, then unzip it.
Installation arduino IDE
If you haven’t installed the Arduino IDE yet, download it from https://www.arduino.cc/en/software and install the software.
The Arduino IDE doesn’t support the ESP32 by default. To add support, follow these steps:
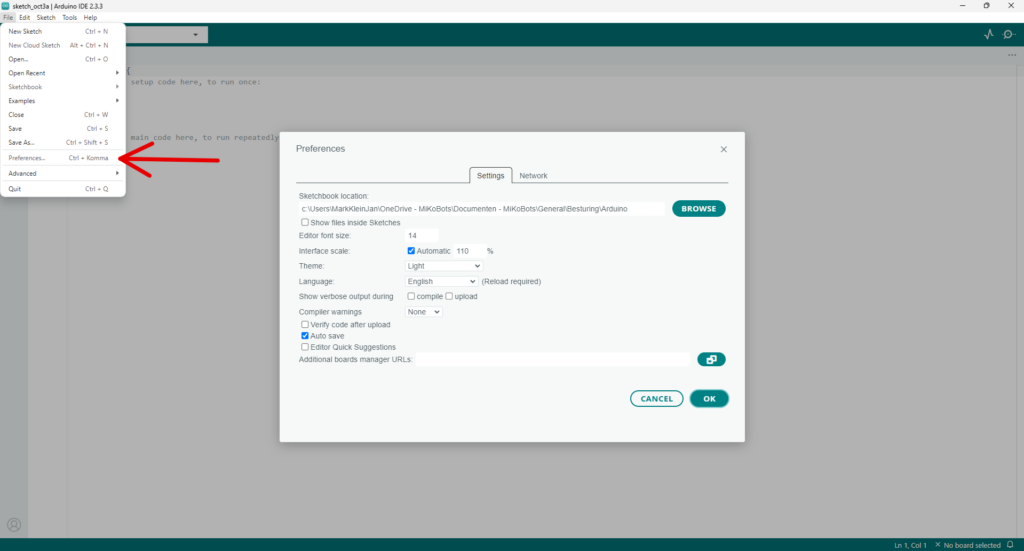
Step 1:
Start arduino and open the Preference window
Step 2:
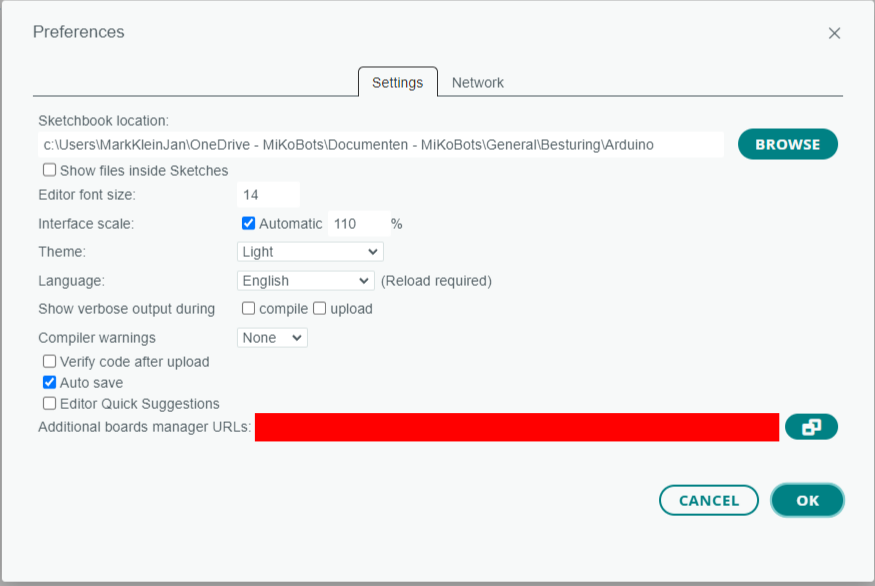
In the “Additional Boards Manager URLs” field, enter the following link and press ok:
- https://espressif.github.io/arduino-esp32/package_esp32_index.json
Step 3:
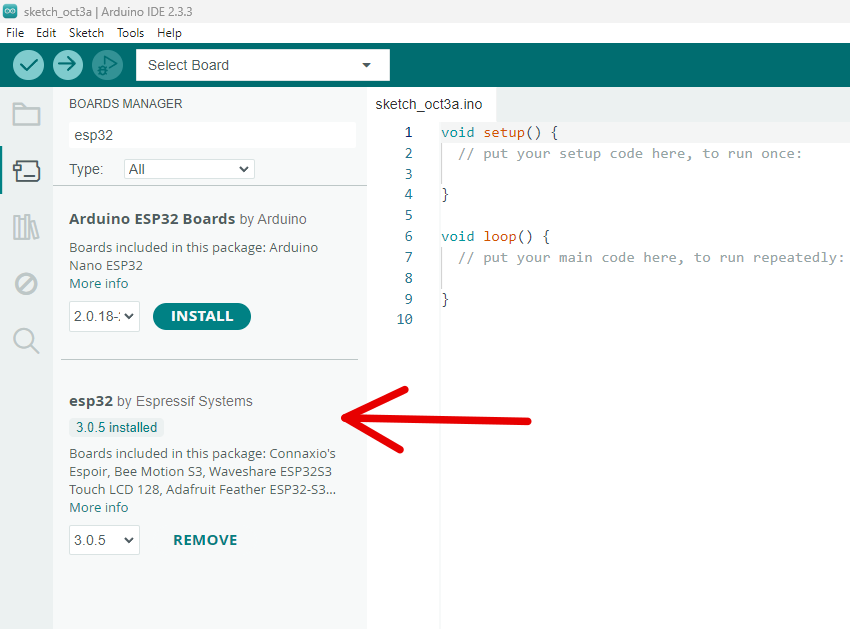
Open Boards Manager from Tools > Board > Board manager and install esp32 platform
Step 4:
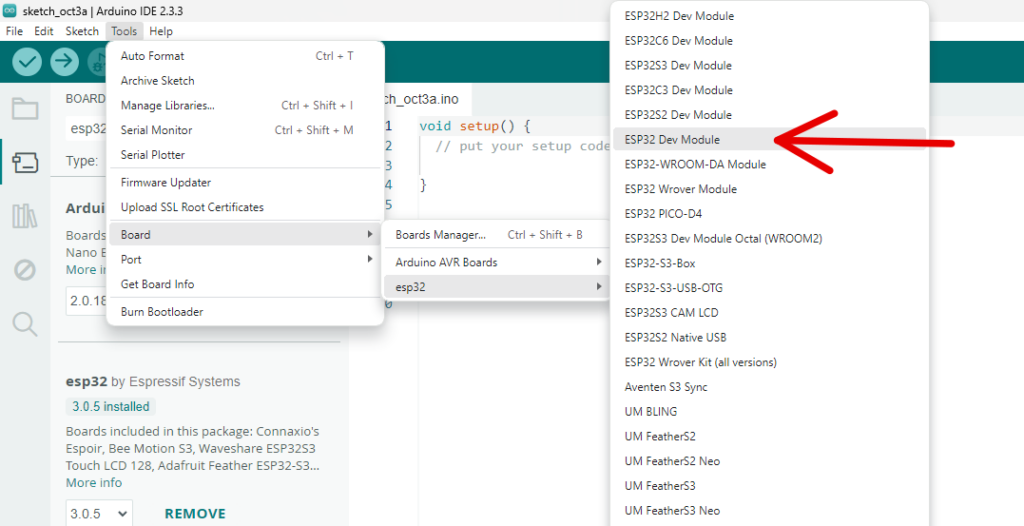
Select your ESP32, Select your board from Tools > Board > esp32 > ESP32 Dev Module
Upload the firmware
Open the file ESP32_robot_controller.ino in the folder you downloaded.
Once the program is open, you need to change the following line 15:
#define type_device "ROBOT"
Modify it depending on whether you are installing the firmware for the I/O module or the robot controller:
-
For the robot, change the line to: #define type_device “ROBOT”
-
For the I/O module, change the line to: #define type_device “IO”
If you are using the arduino Braccio shield you should also change line 16:
#define board_expansion “None” change it to: #define board_expansion “Braccio”
After making this change, you can upload the firmware to the ESP32.

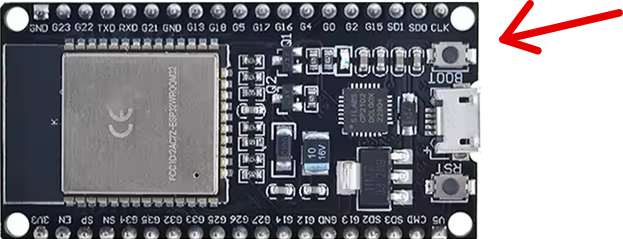
When the arduino IDE is trying to upload, as shown in the picture above. Press the button shown in the picture below for about 1-2 seconds. Once you do this, the firmware will be uploaded to the ESP32. After the upload is complete, you have successfully installed the firmware!
